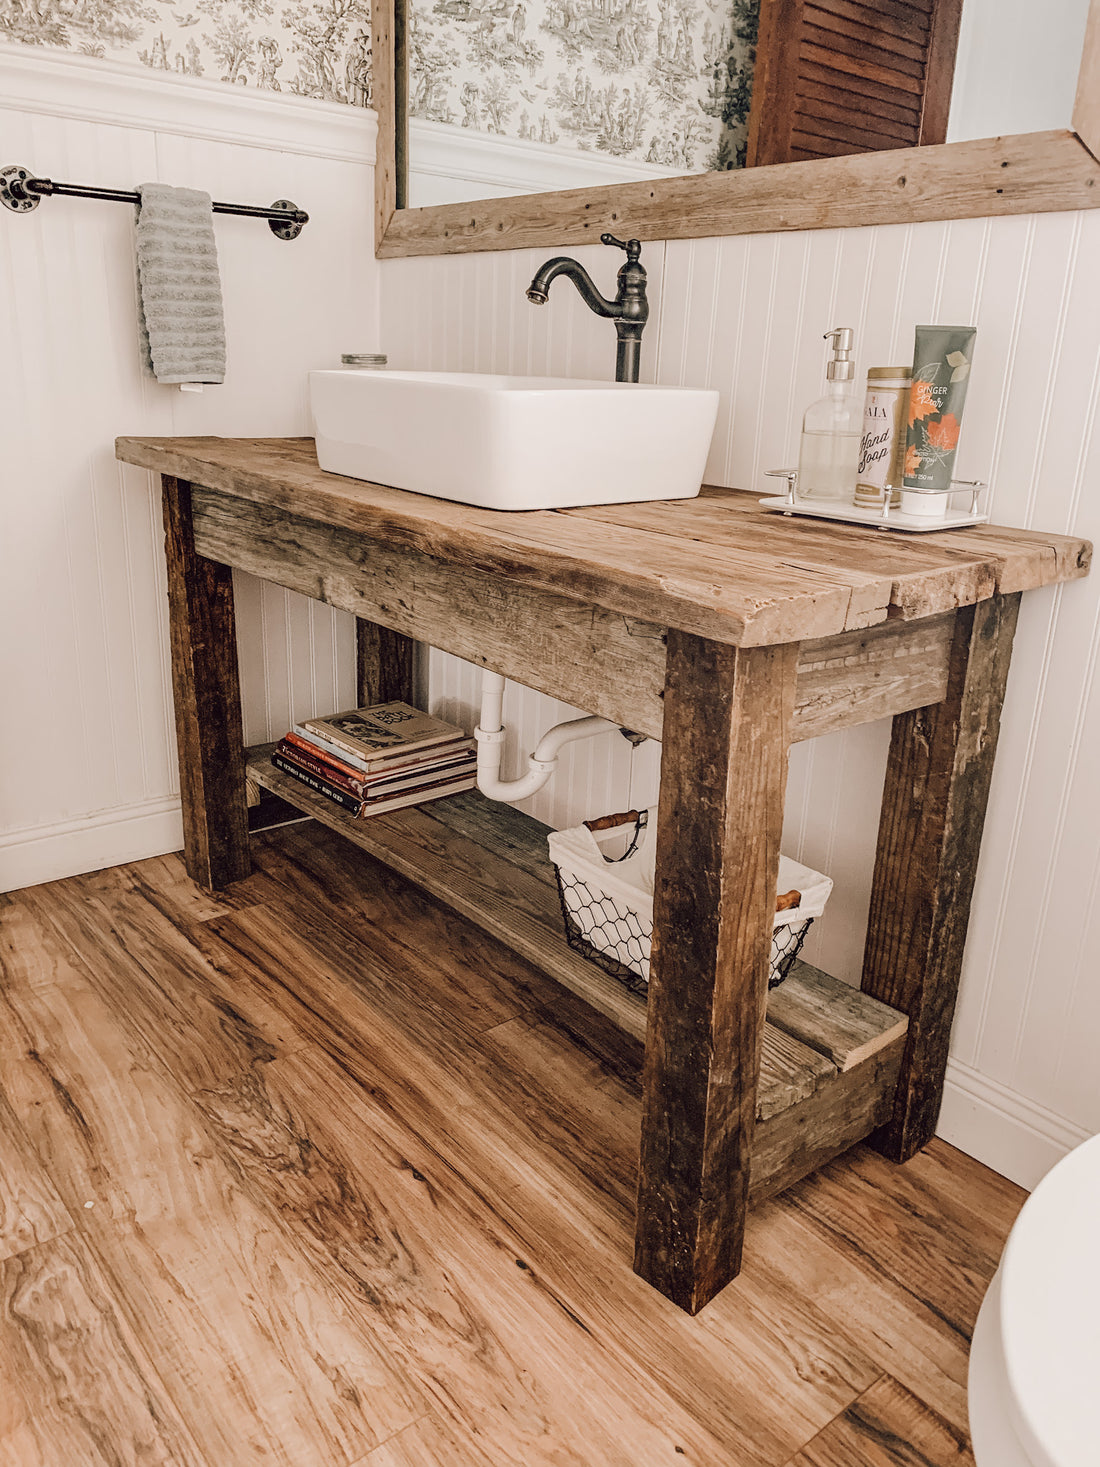
Looking to DIY your next bathroom vanity, side table, credenza, buffet??
STEP-BY-STEP ILLUSTRATED PLANS I MADE FOR YOU ON HOW TO BUILD YOUR VERY OWN RUSTIC VANITY
Prefer To Watch?

Step #1
Decide on your preferred overall height including your countertop, this will dictate the length to cut your legs. Old school bathroom vanities are typically 30” - 32” with modern heights being 36”.
Remember this is YOUR custom vanity, so build it to whatever specs you want!
Once you have decided on the total preferred height, subtract the thickness of your countertop to get the leg length. If you want your finished height to be 36” and your using 2” planks, cut your legs to 34”. If you're using a vessel sink factor in the height of the sink and make sure it will still be comfortable/practical to use.

Step #2
The apron is what connects all four legs together, so in order to start connecting our legs, we first need to figure out how to attach our apron to our legs. There are many ways of doing this, the easiest way I found was to create interior corner nailers. You can use scrap wood for these as long as the depth is the same. You want nailers that are thick enough to hold onto the leg as well as support the apron. The length of your nailer will depend upon the dimensions of your apron, you don’t want the nailers peeking out from the bottom of your apron. If you're using 1x6 for your apron, cut your nailers to 4 1/2”
The nailers for the bottom shelves will show a little so if using reclaimed wood either use matching reclaimed wood for these or stain/distress new wood so it doesn’t stick out like a sore thumb.
Attach top interior nailers to the inside corners of the legs using wood glue and screws, making sure to stagger your screws on each side.

Step #3
Attach apron pieces to nailers on legs using wood glue and brad nails. The easiest way to do this is to make the front and back pieces first, stand them up on end, then connect them together with the side apron pieces and bottom sides.
If using reclaimed wood, brad nails and wood glue might not be as sturdy as you’d like. Adding metal corner braces really helps with stability.

Step #4
Attach countertop of choice - I used reclaimed wood planks with 3” construction nails. I spaced my planks about 1/4” apart and nailed them to the top corners of the legs and the side apron pieces.
* You can drill the faucet hole first before installing the back plank if the faucet location is too close to your apron.
Attach planks for shelf with wood glue and brad nails.

Step #5
Drill holes for sink drain and faucet - follow instructions on manual to get diameter (models may vary.) I had a little trouble drilling out the hole for the faucet because it was pretty close to the back apron piece. Keep this in mind when planning your build so you have enough room to drill your faucet hole and for your water lines

Step #6
Install vessel sink and faucet per product instructions, then secure vanity to the wall. Hook up to plumbing and enjoy your very own DIY bathroom vanity!


